SVG (or Scalable Vector Graphics) is a type of image format defined using text in the form of XML. The format was developed in 1999 and has support across all web browsers.
Unlike image formats like jpeg or png that use pixel information to describe what an image contains (called raster images), an SVG uses XML elements to describe the shapes and colours that should make up the image. Meaning, the file size of SVG images is usually much lower than other image formats. Because the image is described essentially mathematically, the image looks the same at any resolution and can be scaled up without causing pixelation. This is in contrast to raster-based image formats that usually need to grow immensely to be rendered at larger resolutions.
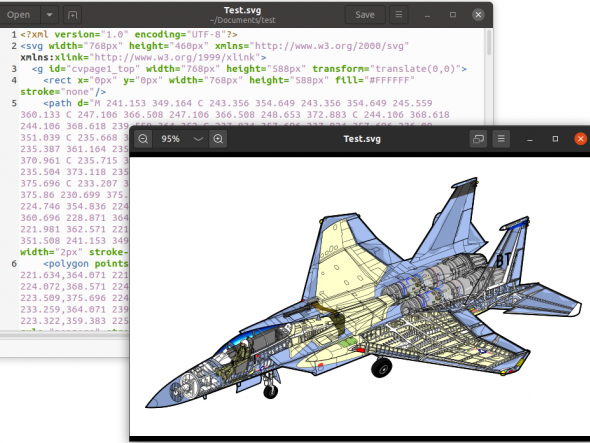
As the SVG image is created using XML, it can be opened in either a text editor, image in a web browser or image editing software. The following shows an image (taken from Wikipedia) opened in a text editor and image viewer.

The SVG format does have some drawbacks. As each part of the image needs to be described by XML it's not feasible to display photographs using the format; the number of XML elements tends to grow quite large and causes the image size to balloon. Also, it's impossible to read part of the image, so cropping and other reshaping tools become difficult or impossible.
Due to the small file size and the relative simplicity of the images, SVGs are commonly used for logos. You will often find SVG used for the icons in social media buttons or other page navigation. Due to the full support by different web browsers the format can also be changed using CSS or made interactive with JavaScript.
Adding An SVG In Drupal
Out of the box, Drupal has no support for SVG images. You can allow them to be uploaded as files, but you can't use the files as images (unless you start tweaking template files). The SVG Image Field module allows SVG images to be used as fully-fledged image fields and so integrates nicely into the media module. Using a media entity is a much better approach and a simple field as the uploaded media is also available to other content items.
Let's look at an example that allows an SVG image to be uploaded as a media entity and linked to an item of content.
Installing The Needed Modules
As we're going to be using media you'll first need to make sure the Media and Media Library modules are enabled. These modules are part of Drupal's core media modules and will be available on your site already (after version 8.7.0). The current stable version of the SVG image field (1.3) doesn't currently support inline uploading (which will be important later) so you'll need to install the newer beta version of the field. Although work is actively being done on this branch it's very stable and I have seen no problems with it so far. To require the specific beta version of this module use the following composer command.
composer require drupal/svg_image_field:2.0.0-beta1
With that in place and the module installed, you will need to create an SVG media type to allow your users to upload into this type. We need a different type, entirely separate from images and other media, as SVG isn't compatible with them. Unless we are specifically looking to allow users to download the SVG as a file we need the separate media type to allow the correct formatting of the media item after upload.
Create An SVG Media Type
To create a SVG media item go to Administration > Structure > Media types (found at the path /admin/structure/media) and click the "Add media type" button. In the next screen select "SVG" from the media type dropdown, which will automatically set up an SVG field for you to use on the media entity. You can name the media item whatever you would like, but I tend to keep it as SVG as that's all it will contain. Finally, on this screen, you can map the Name to the Name field, which is the only option available, before clicking save.
The SVG media item has now been created, but it will need a little bit of tweaking before it's properly usable. The field settings allow you to set the maximum file size of the SVG file that's uploaded as well as setting any default SVG files. These are standard options for file uploads but you don't need to change them for the purposes of this demo.
You will need to change the display settings for the SVG media entity. This includes the fields used on the media upload form and the display settings used on when displaying the media item in the media library and the front end display.
For the field display you might want to add the Name field to the media, especially for the media library display type. This allows you to give the SVG a display name so it will show up in the media library with this name instead of the SVG filename.
Most importantly is the display of the SVG media entity. Starting in the media library display you'll probably want to swap the thumbnail with the SVG field. The thumbnail is from the default media setup and won't show anything due to it not being used. Instead, the SVG field should be moved into place and set to have a size of 220 by 220 (which is the default size for media library thumbnails. For the default display, just set this up as you desire optionally setting a max width or height.
Remember, SVG images can be displayed at any size without the need to resize them. For this reason, the SVG will simply be shown at the size you set up. You can also leave out the size parameters and use the styling of the site to enforce the size of the SVG image within your content.
A Note About SVG Security
There is an optional setting in the default display to show the SVG image as an inline image. This means, instead of using an HTML image, field the SVG is rendered directly into the page itself. This technique can be useful if your SVG image needs to be manipulated by CSS or JavaScript as it will form part of the DOM and can be made interactive or animated. Be careful though as an inline SVG can bloat your page size and even create a security issue due to JavaScript being embedded within the SVG image itself. As it's likely the SVG images will be used as images and not interactive elements I would leave this unchecked unless you mean it. If you do happen to activate it then ensure that you have permissions in place to prevent anonymous users from uploading malicious content.
Adding The SVG Media To Content
Once your SVG media entity is setup you can now add it to your content entity. This can be a content type, taxonomy term, paragraph or any other content entity. Just add a Media reference field to your content and configure it to allow the SVG media type. Due to the fact this is a normal media entity, there is nothing stopping the SVG media item being added to an existing media field. The Drupal media system is clever enough to display the correct media type with the correct format.
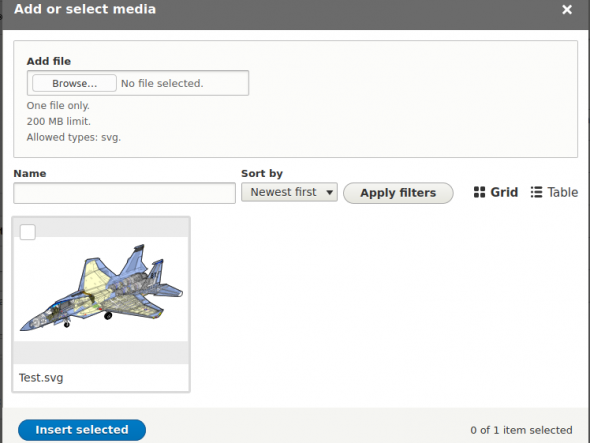
After the field has been set up you can edit the content item to add your SVG file. Clicking Add media in the inline media selection dialogue on the content item will open up the Add or select media widget. From here you can select an existing media item or upload a new one.

The use of the newer 2.0 version of the SVG module is important here as the older 1.x version lacks the upload interface here. Also, if you are not seeing the SVG images displayed here then double-check the settings on the Media library display settings of the SVG media entity.
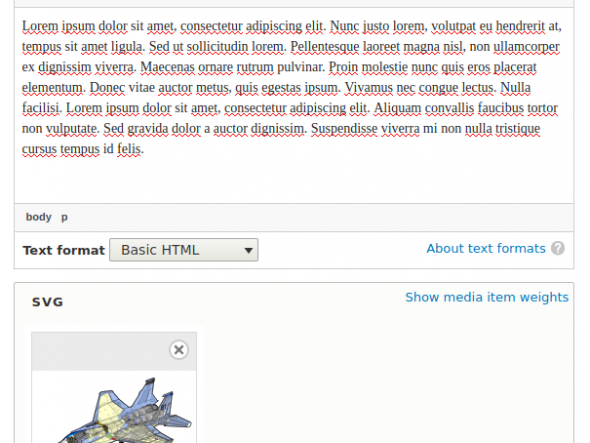
Once you select an image it will be injected into the field ready for you to save the content.

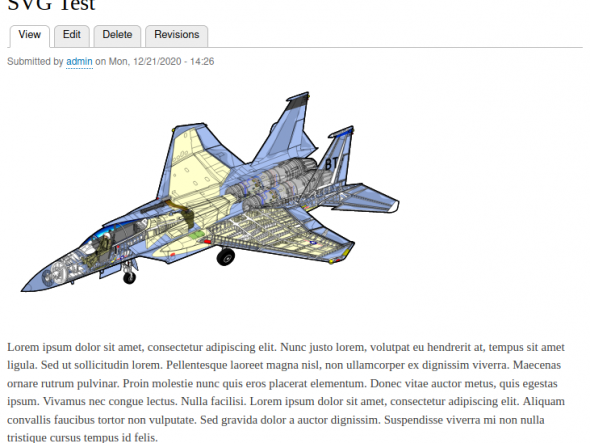
After saving the content item the SVG item will be shown as a normal image.

From this point, the SVG will act much like any image field and can be resized or floated easily. The SVG Image Field module provides quite a lot of functionality using just a few classes that integrate into key areas of the Drupal plugin system.
I mentioned this before, but it's worth stating again that although resizing the image is possible almost without consequence, it is not possible to crop the image easily. Unlike a rasterised image where we would just hack out the middle portion of the image to crop it, an SVG is more of a mathematical construct than an image and needs to be read in full to be understood. Pretty much the only way of cropping an SVG image to download it and edit it in an SVG editing program.